Happy Birthday Grant

Happy birthday little one! Where has the year gone, and how is my baby two? 

Grant has a wonderful birthday party. Family came and visited in waves, but he got to see five of his grandparents, and two of his cousins. He had his favorite food, noonoos (noodles) and ice cream cake. 

And he did blow out his candle!

Your Visit

Hi Sis,

Wow, what a visit! You came for just a week, and it went by so fast. Yet, we got sooo much done. The kids had a great time playing together. It is nice to see how much better they get along, and how excited they are to spend time together. We have been seeing each other probably every other month this year, or maybe more. And their relationships are growing just like them!

Evelyn talks about her cousins and you all the time. And even Grant can say both of his cousins names.

Your visit was jam packed with stuff to do… because that is the way you work. Brandy doesn’t know how to relax. And while we had a great time, and my house is much more organized, I hope you didn’t overdo it to badly.

We had intended to fix up Evelyn’s room from the very start, and you did a marvelous job. Evelyn likes fish, and she has really liked fish for about a year now? She had a fish themed birthday party, which included us taking her to the aquarium. It seemed really suiting that she had a fish themed bedroom. And, you of course had to go above and beyond and help me create a bedroom that was good for her age and development.

I really wish I had taken some before pictures. Not much stayed the same. We moved Eve’s bed, added some lovely paintings made by Evelyn’s great-grandma Cooper, and had some fun adding fish sticker decals. 

We took the dresser out of our living room, and put it into Evelyn’s bedroom. We also got her a small bookshelf. She loves having the bookshelf in her room, and it actually has gotten me to read to her more. I now am reading her a story or two in the morning when she wakes up, and a couple stories before bed. We left a few books in the living room, but a smaller stash in there is suiting us well. And I can swap them up every week. 

You made an adorable blanket for Eve’s bed, got her a big fish stuffed animal… which she now sleeps with, and the room really looks complete. I’ve been adding a few toys to her room. We used to keep all the toys in the living room. But, we had extras after the Holidays, and Eve is starting to play on her own and enjoy her own space. She is really enjoying playing in her room when her brother is bothering her, as that is the place I tell her to go for alone time.

Evelyn’s Aunt Ellen handmade her an E for the wall, and you decided to do a great Aunt and kiddo project and help Eve paint the letters for her some of her wall-art. We cleaned out her closets, made a large haul of stuff to a friend and a children’s resale shop, and added some storage bins under her bed. The room is soo nice, and I think Eve likes it even more then I do!

We also started to work on Grant’s room, but could’t finish due to the materials not all arriving. We decided to make the room more spacious by moving the single bed out of the guest room, and putting it into Grant’s. We added some very colorful wall art that used to be in Eve’s room, you painted Grants name with him, we moved a dresser into his room, and added some toy storage.

Grant really is enjoying the toys in his room. While, he is a bit young for alone time, he wakes up really early and often screams everyone else awake. For the past few mornings he has been sitting in his room happily playing with toys instead. He is also doing a great job at cleaning his toys. I only have one toy per bin, and that is really helpful for him to keep organized. I used to have the bin in the living room, and had multiple toys in bins. And he really had a hard time knowing where to put things. Now, that it doesn’t matter, he is doing a much better job putting things away!

The living room also got redone, and looks fantastic. We moved the play gym to the front of the living room, un-stacked the kids storage bins so they could reach everything and use the top as table play space. We took the toy bin out (and put that into Grant’s room) and created a more spacious play area for the kitchen. Everything is very nice and simple and the layout gives us a lot more space.

The visits from family members made the week even better. The kids got to enjoy time with Grandma Sharon and Wayne, Grandma Marsha and Dave, Great Grandma and Grandpa Jackson, and Grandpa Jeff. We had a full house a few times, and it was an all around great time!

We of course had to celebrate Grant’s birthday party while everyone was over! I’m not going to get into that in this post, as birthday party planning is always your fun thing!

We also learned without any doubt, poor William does not have a pet cat in his future. While, he loves cats and Cookie loved him… his is rather allergic to kitties.

It was a great week and I hope your family enjoyed it just as much as we did!

Love,

Jamie

2021 Crafting in Review

Hey Sis,

For some reason, I like to do a yearly album of things I create. I started doing this on Facebook, and figured… why, not the blog? Here are all the things I made in 2021! Can’t wait to get crafting this year 🙂

For the first half of the year, I was really into hand dyeing and making cloth diapers. Stretchy flats were my main craft.

Then, I took a dramatic turn back to historical sewing and knitting as we started to attend living history events again.

June

Summer Indian Sheer 

Blue Miser Purse

July

First I made a purse for you, that we decided to not keep

Then, I made this one, which we decided was a keeper!
Brandy’s Pink Miser Purse

Then together, we finally finished your pretty Sheer Dress. 

Brandy’s Sheer Dress

Then, for some reason I went on a Paletot making craze. I ended up making three, before I made one that I wanted to keep. Number one –  This one, I made the armseye going into the bodice to much. It was also black, and after spending all this time on the design. I decided I wanted it to stand out on a brighter colored coat.


Number two – I made this one to sell, as I had extra fabric and I wanted to smooth out the fitting issues before making my coat in the blue wool that I ordered.

August

In

In August, I made my very first silk day dress. This was a reproduction of an original dress and it took forever to sew all that velvet trim! I still haven’t worn it to an event, hopefully this year! 

September

I had a washing accident with my sheer Indian printed gown, and ended up having to dye it pink so it wasn’t all splotchy. I really miss the original cream color, but it isn’t bad.

I worked on a few projects during this month, but didn’t finish anything until October.

October

I made my very first silk organza dress, and ended selling it! I really don’t like the feel or the look of the fabric. I also ended up not liking the print. So, it went bye bye.

Silk Organza Dress

Then, I finally finished my coat! I ended up combining both of my coat designs. Very labor intensive, but worth the work!

Then, I made a pair of embroidered cuffed undersleeves for a dress I was working on.

November

November was a fun month, I finished my very first fashion plate inspired dress. I made my first fabric covered buttons, made a neck bow, and a cute belt to go with the dress.

I also worked and finished a pattern for Tunisian Crochet undersleeves from Godey’s 1865

December

Was the craziest month of all. We decided to go to an event, and I didn’t have any winter wear for the kids.

Both kids needed wool petticoats and dresses. Grant’s frock and Evelyn’s Dress

Then, of course they needed some outer wear. 

Evelyn’s 1859 Winter Casaque from Peterson’s Magazine, with a matching hood.

Grant got a very patriotic hood and coat. I even knitted the kids little mittens and attached them to the coat sleeves.

I also finished a hood that had been on my to do list for a year!

I also whipped up two pairs of garters for both of us sisters!

And right before the end of the year, I finished trimming your winter coat!

I’m sure I missed some stuff! Particularly, the modern things I made. lol. Can’t wait for next year. I already have a head start on a few exciting projects, and so many plans!

Love, Jamie


Brandy’s Paletote

Dear Sis,

When I left your house back in December, I loaded up a few of your items with me. One, was your black winter coat. A simple coat with no closure or decoration.

We both know, that you tend to finish making things for everyone else and leave out yourself. Besides, I like working with trimmings, so it seemed like an ideal project for me. The downfall, boy is it hard to trim something to the taste of another. 

I had no idea what to do with your coat. But, while talking to you I made a few discoveries. One was that you made a black coat because you thought it would look best with the Princes Capote hood that I made you, and that you would have preferred having items with a bit more color. Seeing that I had found some emerald green wool suiting for your next dress… coming soon. I figured I could add another jewel tone color to your coat, and make you a whole lot more colorful.

First, I put on a hook and eye closure. I also added a rabbit fur collar, that wasn’t very fitting for the jacket and got removed. I ended up picking this design, it was featured in Godey’s in 1865. It called for some buttons, and I figured basic black silk covered buttons would handle the job well.

I couldn’t find any cording to suit, so I decided to buy a Lucet and make it myself. I had plenty of silk yarn in the closet after all. A bright purple seemed the most fitting, and I got to work. Boy, did that take awhile. Each row needed about 6 yards of trim. And while the cording went together faster then I expected, it still seemed to take forever.

It took almost as long to put it on, as to make. Trimmings can be so fiddly. Silly me, also lined up the trimmings with the edge of the overlap on the coat as the center. It was my husband who pointed out that the eye was drawn to the buttons as the center focal point. So, I ended up moving the center trimmings several times. But, I do think the result was worth it.

And those chunky tassels with a tatted top really drew the whole thing together. I hope you really like it. And I can’t wait to finish your emerald green wool dress and fancy silk apron!

I hope you like your jazzed up coat!

Love,
Jamie


See more of our outerwear in our Historical Closet

Merry Christmas

Hey Sis,

Christmas almost didn’t feel like Christmas this year. We were sick, and had to cancel all our family plans. Being stuck home, without any energy, just like every other day before.

The kids were doing better then Nate and I. And I was trying to make it still something for them to remember. I cut out some felt stockings and had the kids whip stitch them together. In the morning, I put an orange and a stick of old fashioned hard candy in each. We also placed two sleds under the tree, and Nate got the kids a Make a bouncy ball kit. Eve has a thing for bouncy balls and has been asking to go sled riding as soon as snow started falling this year.

Thankfully, without much of a warning I received a call from Grandpa Jeff. He was fishing in the area, and would be over soon! I warned him that we were sick, but he said he was coming anyway.

He brought the whole day to life, as the kids played with grandpa. He got the kids a trampoline, and they pretty much jumped for about two days straight.

Love, Jamie

Grant’s Patriotic Winter Coat & Hood

Dear Sis,

I had the most fun making Grant’s winter ensemble. I was looking through my fabric scraps, and saw cream wool laying right next to ruby red and peacock blue. I also remembered, I had gold sutoutche braid that lacked a calling. That is when I decided, Grant was about to become a very Americana toddler. After all, patriotic trimming was very common during the American Civil War.

I already had a coat for Grant, it was Williams a few years back. But, Grant is stockier then William and the buttons were about to pop off. I also wanted a different coat. Sorry, Brandy but Tweed breathes more than Melton, and that is some itchy wool… and probably, the reason why it was both vintage fabric and given to you for free. You can see this multicolored itchy beauty here!

I just enlarged the coat from William, and got down to the decorating pretty fast. The coat closes with hooks and eyes, but the appliqué while sewn on one side, has buttonholes and buttons on the other side of the coat.

Some developmental stages of the coat.

The red wool was trimmed in the gold sutoutche, and I made fabric covered buttons from the blue wool. Which, was actually very difficult, as the wool was a bit thick for my button maker. I then proceeded to trim the edges of the coat in blue and gold sutoutche as i wanted to give it a finished appearance vs. a raw edge of wool melton.


Naturally, the coat needed a truly fantastic hood. This hood is actually a Childs modified sunbonnet made with wool and silk. You can see Brandy’s post on it here  

The stars where just a cherry on top for this whole project. I never actually did appliquĂ©, but it felt necessary! And it was amazingly easy. I just printed some clip art stars, and cut them out. The front of the hood actually folded over with the silk, but I added a layer of red wool, so it is even thicker there. I also didn’t want the look of a raw edge, so the front and sides have black velvet, and the back has a thinner black sutoutche. 

The ties probably shouldn’t have been made with wool, but I wanted the blue wool! Since the edges weren’t finished on the wool, and it may have ripped, I bound both edges of the wool ties with black velvet.

Here it is!!!! Little red mittens and a blue brioche knit boa with red tassels were also added, just because they were so stinkin cute! I will be adding the Boa Pattern up shortly, as it is a period pattern!!!!


Here is Grant in all his glory! We were at Holly Days, at Heritage Village, Ohio.

More of our Historical Children’s wear and free patterns can be seen here 

Eve’s 1860’s Winter Coat and Hood

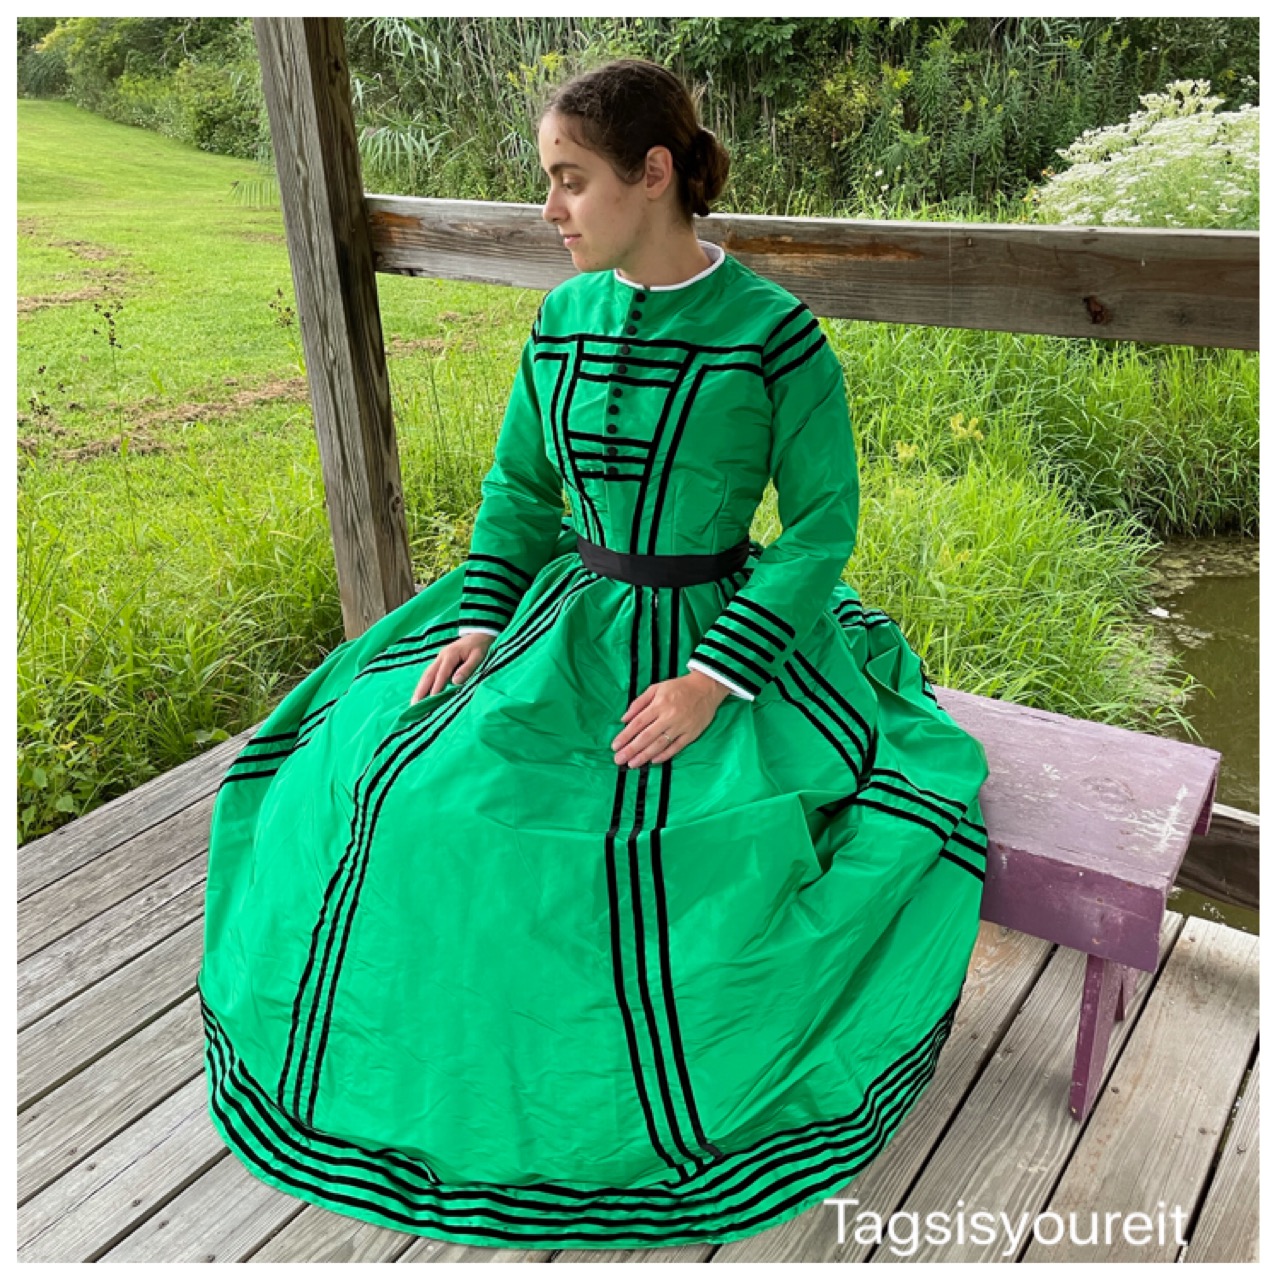
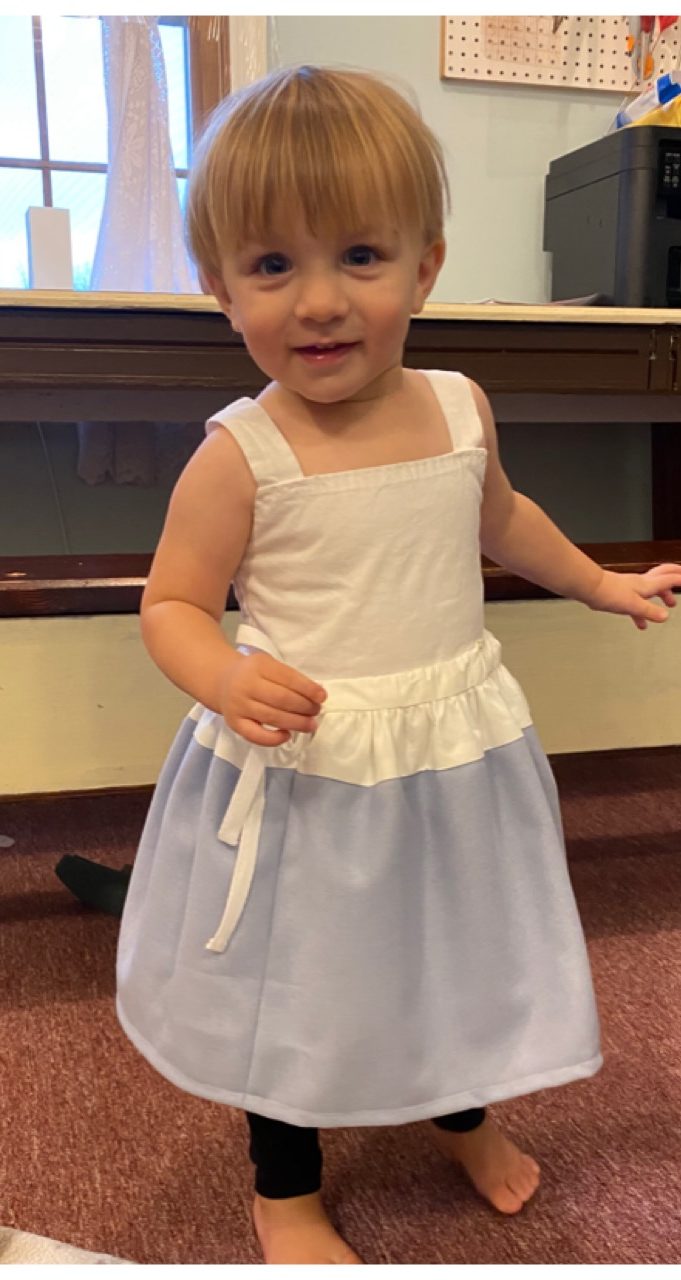
I never suspected how much I would enjoy coat making! Naturally, making coats for the kids was even more fun! I wasn’t sure how I was going to make Eve’s coat. At first, I figured I would make her a simple sack coat, and just enlarge the coat Brandy made here.

But, with a hoop skirt on I did like the idea of something with a bit more fit and flair. That was when, I stumbled upon a pattern on Pinterest, for a Child’s Winter Casque. The pattern was published in Peterson’s Magazine, in 1859. 


I traced it out onto some fabric scraps, and was very surprised at how close the fit was. I honestly, suspected the pattern would be a bit large, as Eve is only three. But, it was actually a little small. I did decide to make it a bit larger also to add for the thickness of a wool, and to have extra bulk as I planned to put a knitted sweater under her coat for chilly days.

The pattern went together very easy and fast. I did a modified coat sleeve like thing, that sort of belled out at the sleeve. I think the hardest part was feeling confident enough to cut that hole into the front sides of the coat. I really wanted to dart it, or something. But, really the hole was necessary to get rid of the extra fabric and give the coat the proper look. The image makes it look a bit more fitted, but honestly it a bit of a sack front with a fitted back.

I also added some rabbit fur to the neckline. I made the neckline a hair to short, and the fur fixed it perfectly and added a soft non-wool rubbing area. At first I followed the original trim down the front, but boy did it look terrible! So, I just took the trimming idea and put it right down the center of the coat instead. It is a simple 1 inch stripe of velvet, with some black silk covered buttons on top.


The hood was a simple make, Brandy wrote about the making of that hood here  It’s actually an adjustable kids sunbonnet, with wool melton on the outside, and silk taffeta on the inside. While, I do like the hood. Brandy used cotton flannel on the inside of hers, and I can say that it has less slip then the silk taffeta lining.

Holy Days at, Heritage Village, in Ohio

More of our Historical Children’s wear and free patterns can be seen here

Eve and Grant’s Winter Wear – Undergarments & Dresses

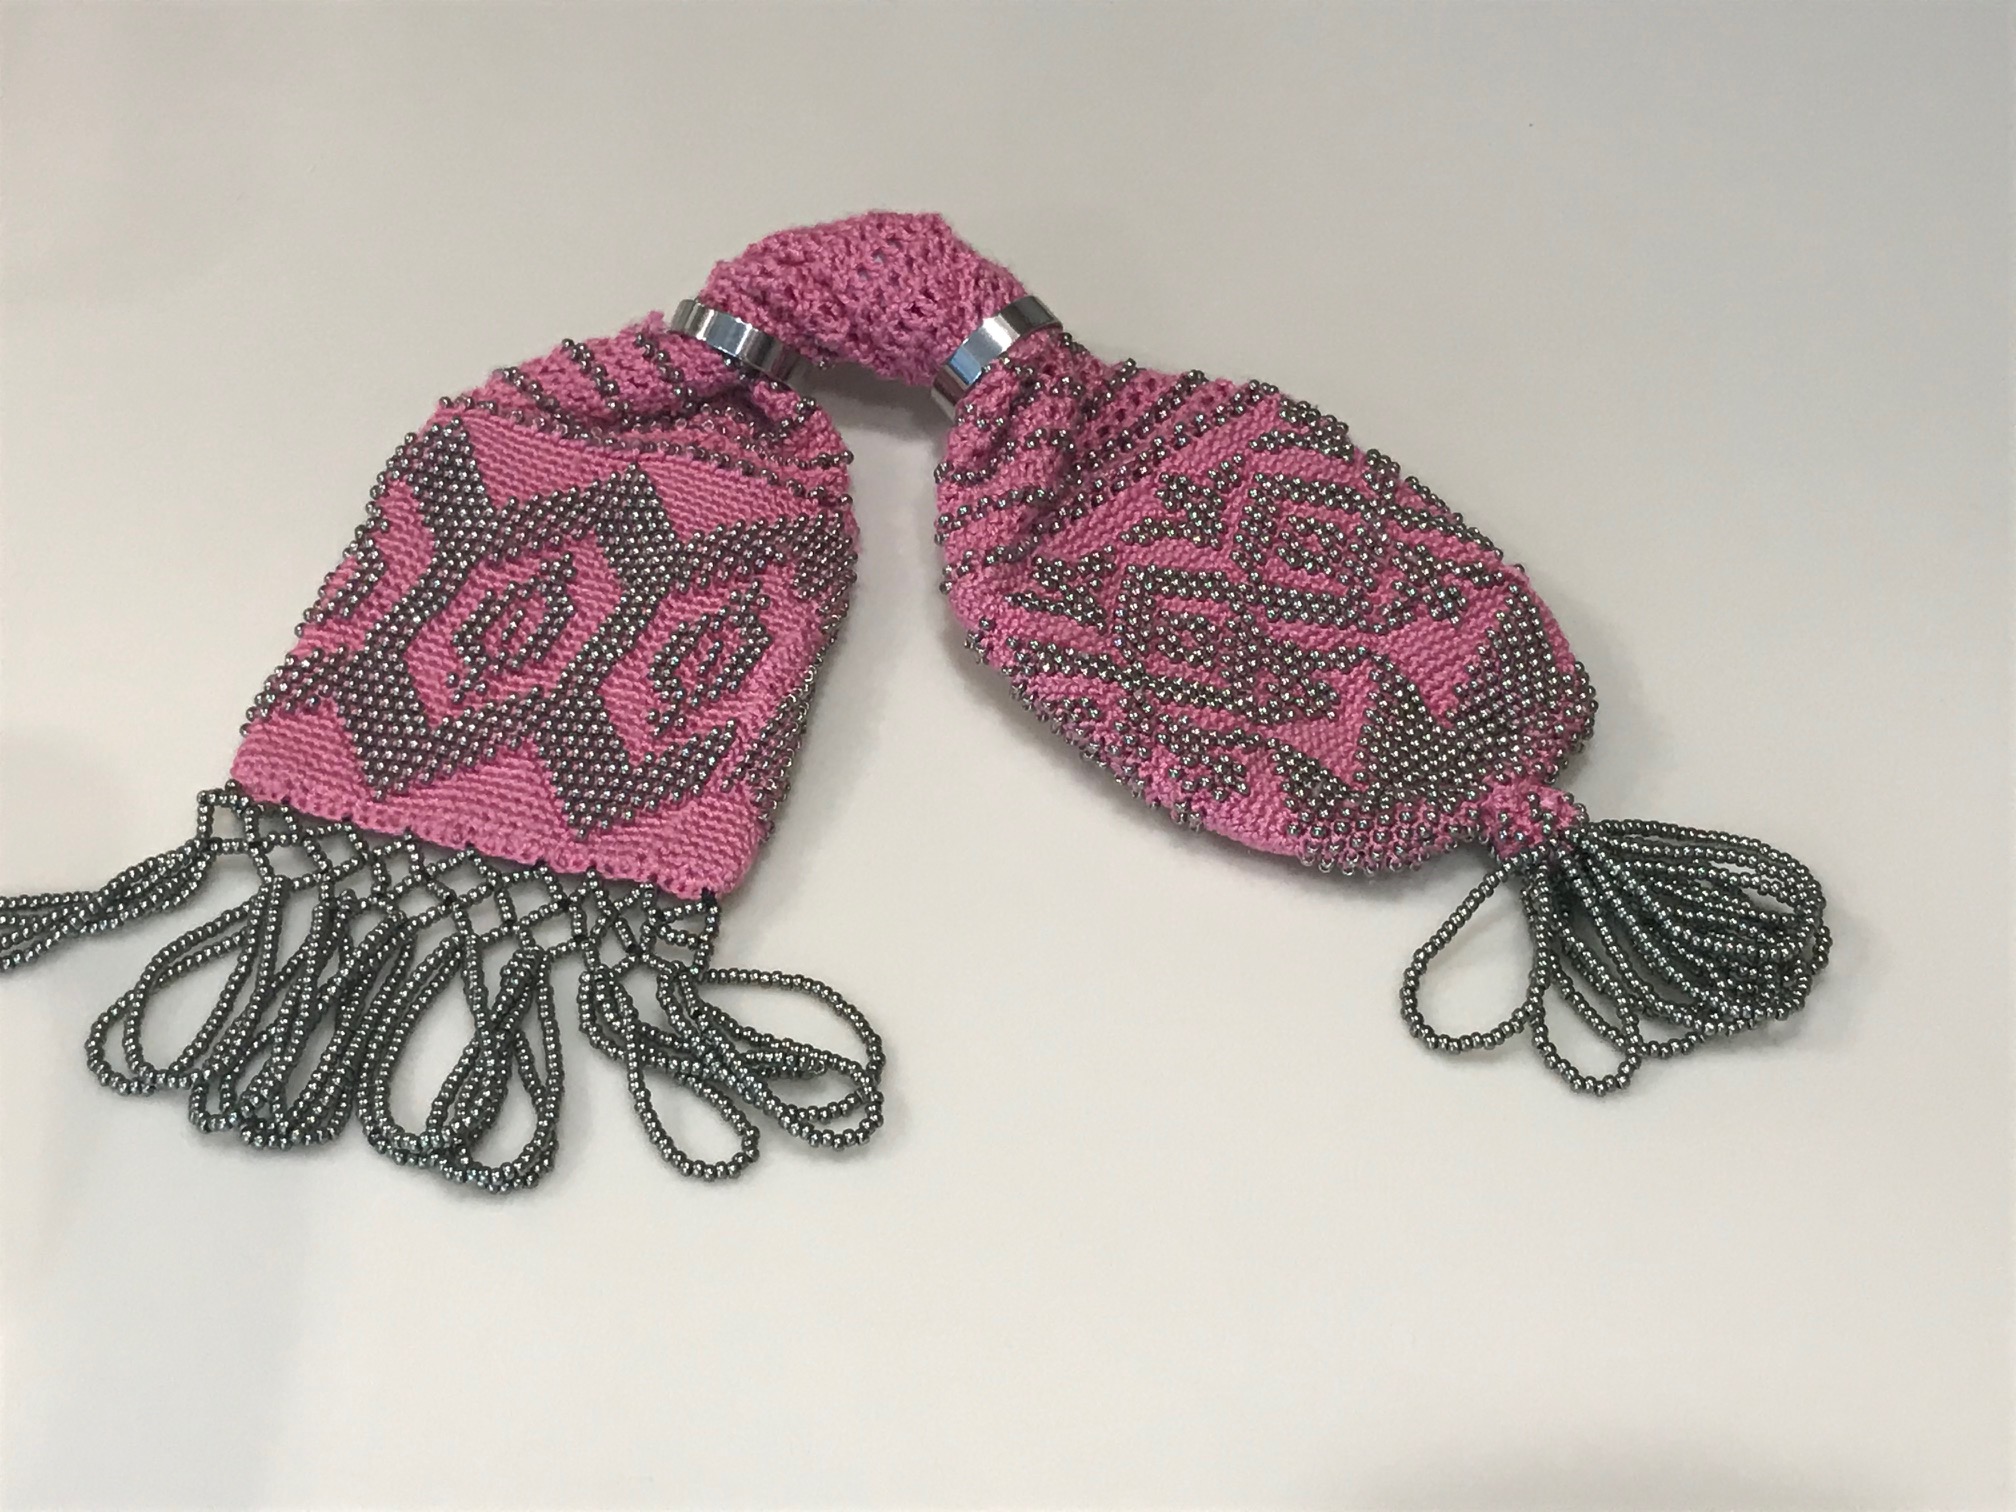
The last two weeks, all I’ve been doing is sewing, sewing, sewing. I did knit a bit, host Thanksgiving, try to keep up with kids, not drown in laundry, and stay sane. But, mostly I’ve been preparing for 1860’s Christmas Caroling with the kids.

The issue was this, my kids only had summer clothing. I also had very little experience sewing kids period clothing. To make things worse all my materials were taking forever to arrive, and my patterns got lost in the mail for three weeks. So, I ended up not using the patterns at all. Go figure!

Eve needed a new pettichemise,  Thankfully, Grant fit into Evelyn’s old one. Barely, but it did fit! After, that was made I whipped up two wool petticoats to help keep the kids warm. While, in the past we used two 30×30 panels to make the kids stuff, the wool was just so full that 25×25 inch panels were more practical. With the extra weight of the wool petticoats, I also had to add buttonholes/buttons to the waist of their pettichemise and wool petticoat.

To help keep the thickness from the waistband of the wool, I used a cotton waistband and the top few inches of the skirt are also regular cotton muslin. Here is a picture of Grant in his pettichemise and wool petticoat. I hadn’t added the buttons yet, but figured out that they would be needed as he started to jump and play, and the drawstring just wasn’t enough to keep the petticoat from sliding all over the place.

After the kiddos were settled with undergarments. I started to work on their dresses. I had a brown plaid wool suiting, but I did want to decorate their dresses. So, I went to Pinterest for inspiration.

Isn’t this simplistic and adorable? I did make a few changes. Of course, since I was making a winter garment I made it with long sleeves. I also didn’t add the little trimmings on the front pleats, as there didn’t seem to be that much space between Eve’s waist and the skirt. Eve is only three, and the fact that I made the dress with a waistband instead of attaching the bodice directly to the skirt did make it a longer bodice. 


I also added a few cute details. I made some black silk buttons for the back, and a black silk bow belt.


For Grant, I wanted something that would look very masculine. I saw this image, and actually saw a few garments for boys where the trim went down the dress at a diagonal. A very simple look, and I decided to roll with it.

Unfortunately, I got my inspiration for trimmings after the dress was made. Because, I sure do like the look of the sleeves and longer shirt/dress that this young boy is wearing.


Anyway, here is how it turned out. I trimmed it with black velvet, and some silk covered black buttons. The adorable belt was found on the Button Baron’s website. It slides around a bit, so I think I’m going to sew it directly onto dress. Not sure if this was done during the period, but sewing it would make it stay in place.

Just in case anyone was wondering, Grant is not yet two years old, and he isn’t fully breached. Thus, he is wearing a dress, which was the norm for boys that were not yet potty trained.

Not the best of photos, but here they are in their dresses at Heritage Village, Ohio! It was cold out and Eve was fussing while I dressed her in the car, so I didn’t try to add her belt.

More of our Historical Children’s wear and free patterns can be seen here