Godey’s Volume 60, January-June, 1860

Dear Sis,

I found you another sock pattern! …and other things to knit too:)

Baby Bib to Knit

Winter Sock to Knit

Sontag and Under Sleeve to Knit

Gentleman’s Gaiter Pattern

Winter Headdress to Knit

Floral Collar & Cuffs to Embroider

Collar Front to Embroider

Patchwork Quilt Pattern

Happy Historic Crafting!

Love,

b


Enjoying our content? Clicking an ad helps cover the expense of hosting our blog. Thanks for your support!


Godey’s Volume 57, July – December 1858

Dear Sis,

Just a few more pretties for you!

Shell Afghan to Knit

Patchwork Pattern

Reticule to Embroider

Winter Mantle in Crochet

Happy Historic Crafting!

Love,

b


Like our content? Clicking on an advertisement helps us pay for our blog!


Peterson’s Volume 40, July-December, 1861

Dear Sis,

I found more afghan patterns for you!

Ruy-Blas Mantle Pattern

New Afghan in Crochet

Purse in Crochet

Fall Paletot Pattern

Boys Jacket and Waistcoat Pattern

Crib Cover to Knit

Star Stitch Shawl to Knit

Little Girls Casaque Pattern

Happy Historic Crafting!

Love,

b


Like our content? Clicking on an advertisement helps us pay for our blog!


Peterson’s Volume 39, January-June, 1861

Dear Sis,

Several baby patterns and accessories in this collection!

Child’s Underskirt

Talma to Knit

Infant Hood in Crochet

Spectacle Case

Braided Infant Hood

Polonaise Traveling Dress Pattern

Baby Mittens in Crochet

Belts and Sashes

Ladies Neck Tie

Happy Historic Crafting!

Love,

b


Like our content? Clicking on an advertisement helps us pay for our blog!


2021 Crafting in Review

Hey Sis,

For some reason, I like to do a yearly album of things I create. I started doing this on Facebook, and figured… why, not the blog? Here are all the things I made in 2021! Can’t wait to get crafting this year 🙂

For the first half of the year, I was really into hand dyeing and making cloth diapers. Stretchy flats were my main craft.

Then, I took a dramatic turn back to historical sewing and knitting as we started to attend living history events again.

June

Summer Indian Sheer 

Blue Miser Purse

July

First I made a purse for you, that we decided to not keep

Then, I made this one, which we decided was a keeper!
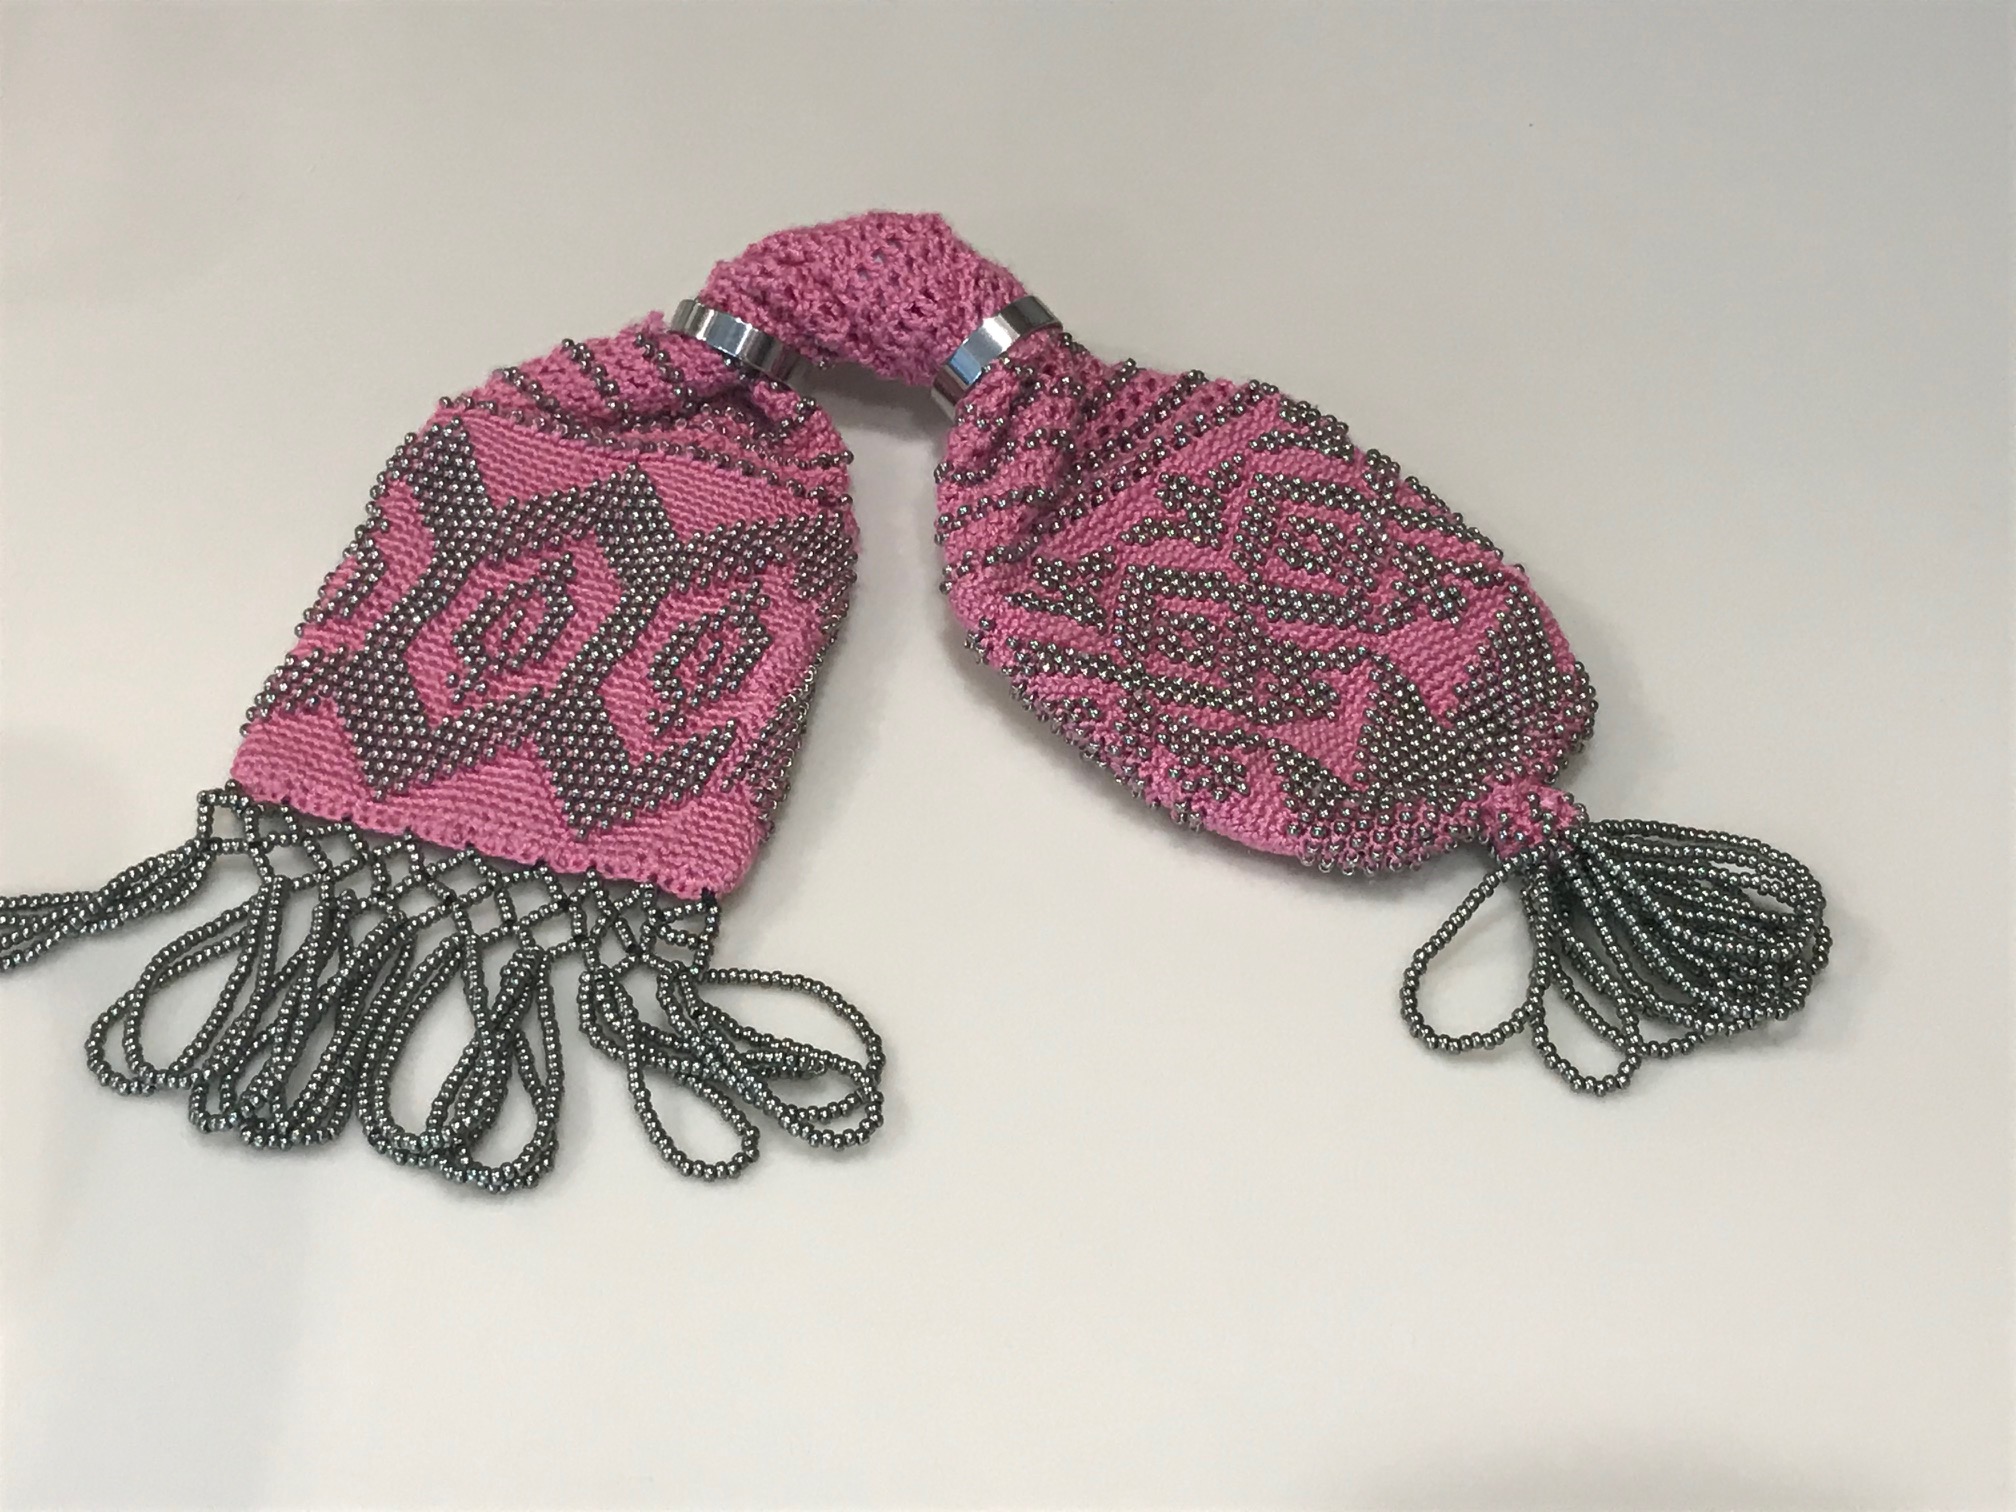
Brandy’s Pink Miser Purse

Then together, we finally finished your pretty Sheer Dress. 

Brandy’s Sheer Dress

Then, for some reason I went on a Paletot making craze. I ended up making three, before I made one that I wanted to keep. Number one –  This one, I made the armseye going into the bodice to much. It was also black, and after spending all this time on the design. I decided I wanted it to stand out on a brighter colored coat.


Number two – I made this one to sell, as I had extra fabric and I wanted to smooth out the fitting issues before making my coat in the blue wool that I ordered.

August

In

In August, I made my very first silk day dress. This was a reproduction of an original dress and it took forever to sew all that velvet trim! I still haven’t worn it to an event, hopefully this year! 

September

I had a washing accident with my sheer Indian printed gown, and ended up having to dye it pink so it wasn’t all splotchy. I really miss the original cream color, but it isn’t bad.

I worked on a few projects during this month, but didn’t finish anything until October.

October

I made my very first silk organza dress, and ended selling it! I really don’t like the feel or the look of the fabric. I also ended up not liking the print. So, it went bye bye.

Silk Organza Dress

Then, I finally finished my coat! I ended up combining both of my coat designs. Very labor intensive, but worth the work!

Then, I made a pair of embroidered cuffed undersleeves for a dress I was working on.

November

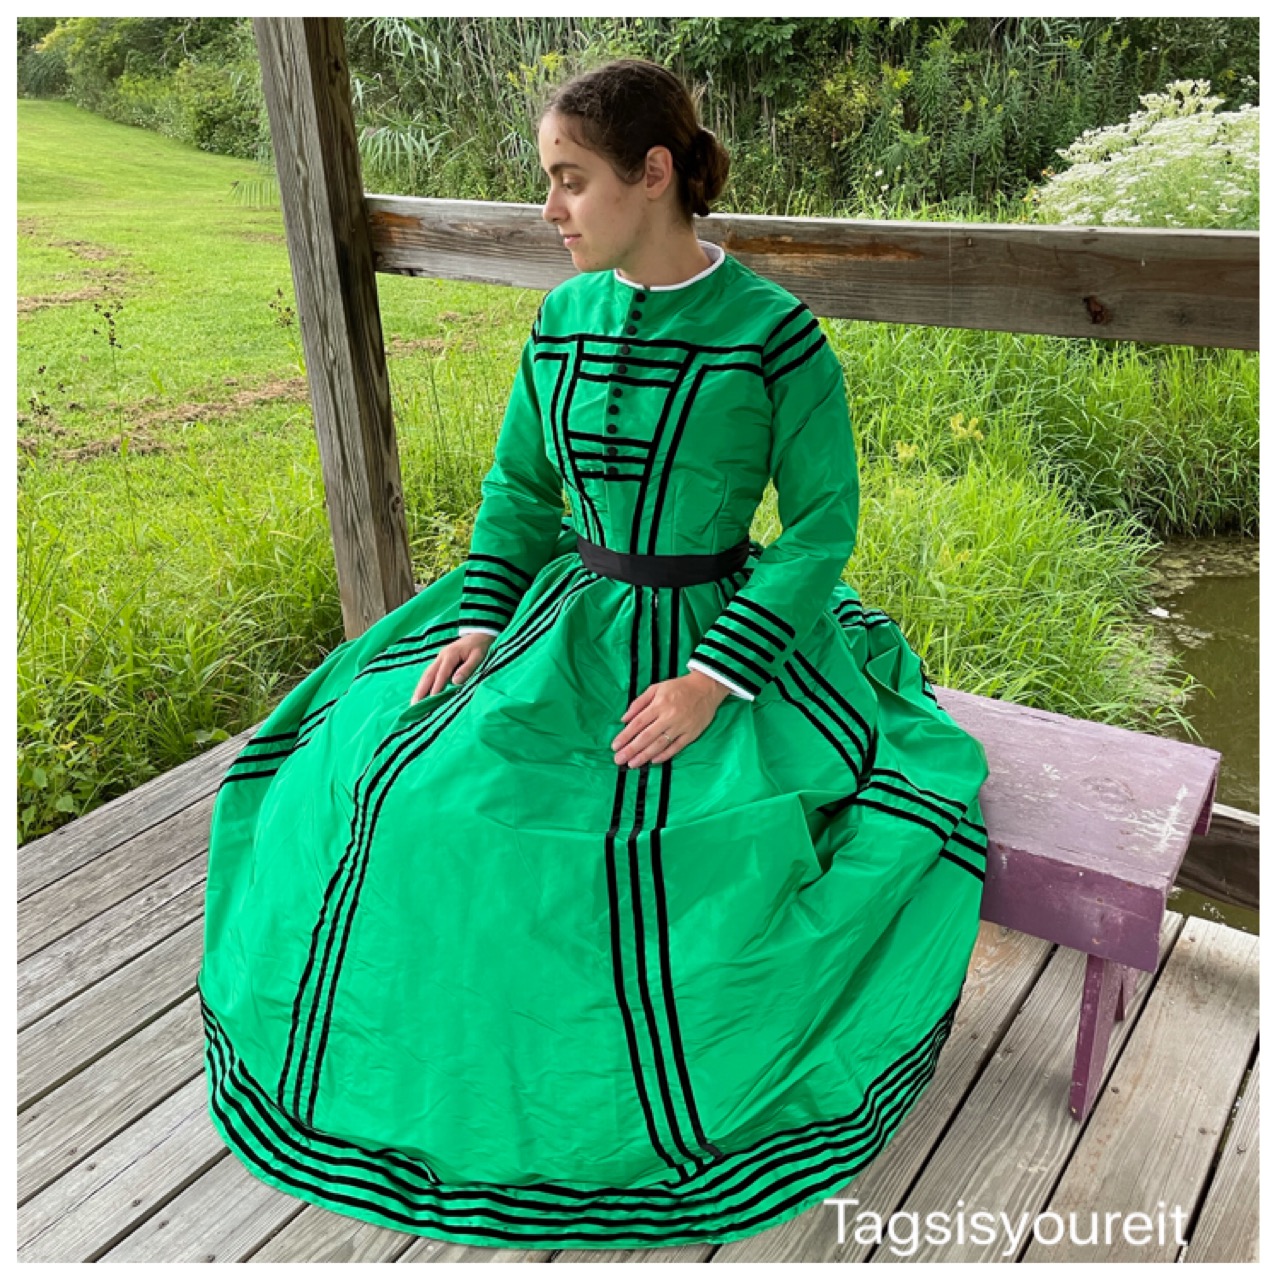
November was a fun month, I finished my very first fashion plate inspired dress. I made my first fabric covered buttons, made a neck bow, and a cute belt to go with the dress.

I also worked and finished a pattern for Tunisian Crochet undersleeves from Godey’s 1865

December

Was the craziest month of all. We decided to go to an event, and I didn’t have any winter wear for the kids.

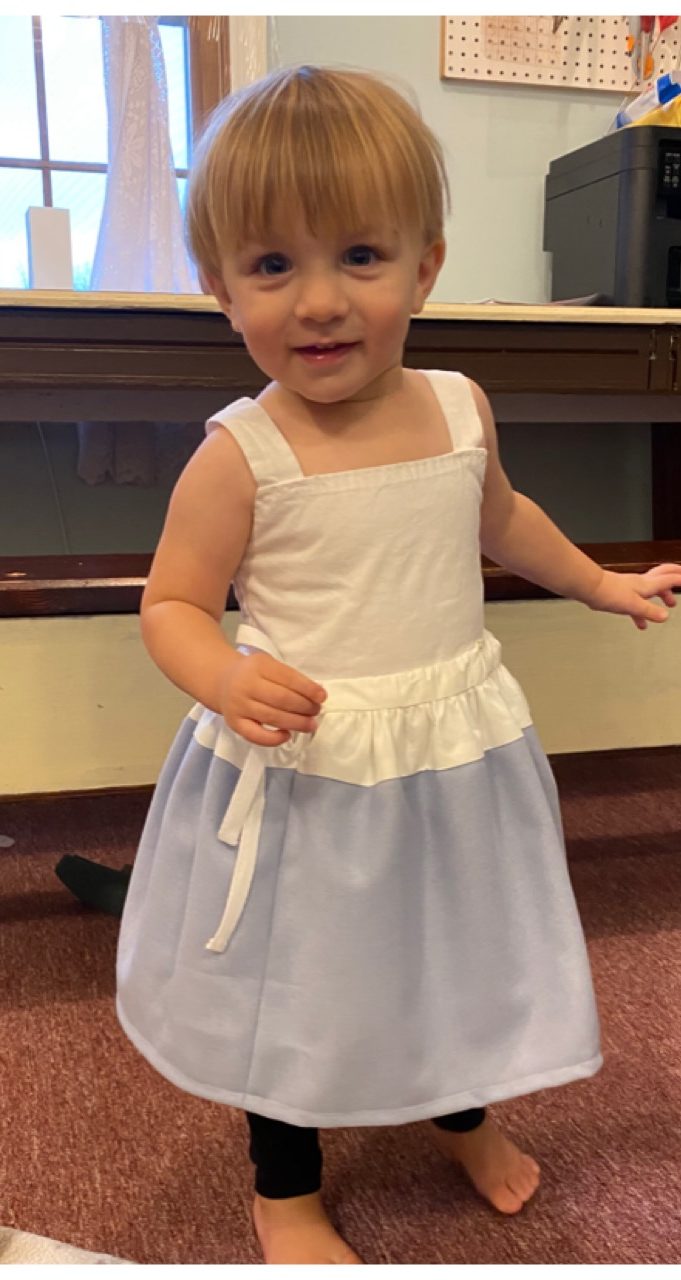
Both kids needed wool petticoats and dresses. Grant’s frock and Evelyn’s Dress

Then, of course they needed some outer wear. 

Evelyn’s 1859 Winter Casaque from Peterson’s Magazine, with a matching hood.

Grant got a very patriotic hood and coat. I even knitted the kids little mittens and attached them to the coat sleeves.

I also finished a hood that had been on my to do list for a year!

I also whipped up two pairs of garters for both of us sisters!

And right before the end of the year, I finished trimming your winter coat!

I’m sure I missed some stuff! Particularly, the modern things I made. lol. Can’t wait for next year. I already have a head start on a few exciting projects, and so many plans!

Love, Jamie


Backing Great Grandma’s Quilts

Dear Sis,

Great Grandma Cooper gives out hand embroidered quilts to all her great grand babies. I’ve actually made and backed two of my own, so the one she gave me for William in 2015 has been sitting in a box waiting to be backed for sometime. When, I got a second one for baby sister in July, I decided it was time to do both!

I used to be of the mindset that this was a task that needed to be hand sewn. The combination of the versatility of my new sewing machine and the need for more efficient time usage that goes along with second wave motherhood, has persuaded me that things don’t necessarily have to be perfect to be done well:)

William’s Quilt

I chose a pale blue swiss dot for this one. I was trying to make it look suitable for a little boy. Luckily, the colors in the bow boarder was very accommodating:)

Baby Sister’s Quilt

Again, the boarder inspired my fabric choose. I like the vine embroidery so well, I wanted to help make it more of a focal point:)

As I recall, Great Grandma Cooper gave Evelyn a beautiful quilt and I’m sure your about to get another for your pending addition:) Bring them sometime when you visit and I’ll happily back them for you so they wash and wear better over the years!

Love,

b

DIY Passover Doll

Dear Sis,

This is the final DIY for my Passover Lesson Plan. It is a doll to help little people learn about plague six… boils. Little kids love bandages, so I thought it would be a great activity to give William a box of bandages to stick all over the doll to cover the boils. It’s a bit unconventional I guess, but I don’t see a reason to shelter my kids from the more gruesome bits of religious history. The human experience isn’t always pretty, he might as well start learning that now.

To begin, you will need an 18″ cloth doll and some chunky black yarn.

Hair is the first chunk of the project. I cut 18 inch lengths of yarn for the length of the hair, and 8 inch lengths for the bangs. I started around my visualized center part and stitched the yarn in place with needle and thread. The yarn is black, consequently the photos aren’t as clear as I would prefer.

There are four single pieces of yarn folded in half on the right side. Only two are stitch on the left, as pictured.

For the back, I started with double strands on the outer most bits, then did a set of triple strands, and one set of quadruple strands in the very center back. The multiple strands fill in the roundedness of the back of the head nicely. 

I stitched the bangs on in single and double strands depending on the amount of coverage needed in that area. The final step was a hair cut. I did a boy’s bob, for a girl make it longer.

The next part of the project is the tunic. It can be completely sewn by hand, but I used a machine on the inner seams to save time. First is some simple pattern making. 

The body of the tunic is an 8×7 inch rectangle as pictured, but I modified it in the cutting step to 10×7 inches because I decided it was too short. The sleeves are 3×3 inch squares that line up with the top of the body rectangle. I used a lid to help shape the neckline, but the dimensions in the next picture will help you create the curve without a lid:)

The neckline is centered. It is 3 3/4 inches wide and 1 1/4 inches deep. Cut 2 from desired fabric. I used some broadcloth remnant. 

I cut a 2 inch slit in the center front to create a gusset in the front opening to ease the garment over the head.

The seams are stitched with 1/4 inch seam allowance.

I pressed 1/2 inch rolled hem into the bottom of the tunic on the bottom of each sleeve opening. I pressed the neckline under a 1/4 inch.

I secured all the pressed edges by hand using the running stitch. I also made a belt with some ribbon to complete the outfit.

Before dressing the doll, I used fabric paint to create the boils.

Happy Passover!

Love,

b


Activity Book, Page 3

Hi Sis,

Today, I made page three. I don’t think this one will hold up very long. You may have to cut more felt flowers for it due to ripping and probably him losing the flowers. But, it is still a cute and fun page.

Printouts for the Vase and the Flowers. 

It is much easier to print, pin and cut, then to try to trace and cut. 

Love,
Jamiegoof