Hi Sis,
I completed my knitted accessories today, that go with my 1860’s winter wear. I made a scarf, to take a chill of my neck…as I may have made my neckline on my coat a little short. A hood, to cover my ears as the wind blew under my quilted hood last venture. And some super warm mittens/gloves.

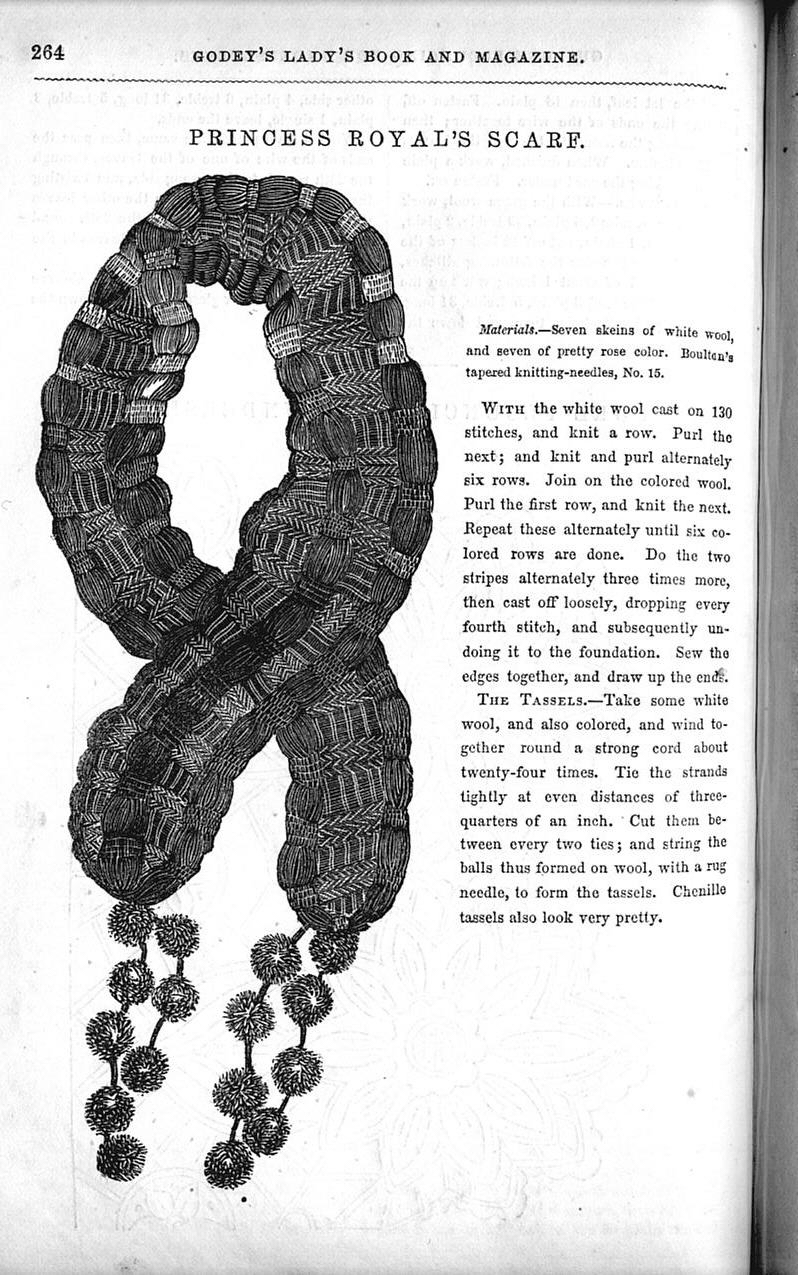
Scarf Pattern
My scarf is a combination two similar period patterns. The Princess Royal Scarf, which was featured in Godey’s Magazine, in 1856. And a Childs Muff pattern that was featured in Godey’s Magazine, in 1860.
Both original patterns call for 130 stitches, and are striped in two colors. The Princess Royal calls for each color band to be 6 rows wide, and the other 8 rows wide. One asks for every fifth stitch to be dropped, and the other every 4th. The have different numbers of stripes, but it is almost the same pattern republished.
I found the 130 stitches to be very small, child sized makes sense! I adjusted the pattern for myself. It’s not a super long scarf, but I can tie it once.

Materials
Sport Weight Yarn in two colors
Size 5 knitting needles
Pattern
Cast on 200 stitches (Or, more if you want it longer! This, is a stitch repetition of 5. Food for thought. Historically they didn’t have circular needles! Naturally, they did have options for making projects with width greater then the average needle size. However, for a simple project like a scarf. You generally see a smaller width knit as long as one likes)
Do eight rows of stockinette stitch. Change color, knit eight rows. If you like the look, or what a fluffier scarf you can reverse the stockinette. Knit till you have four repeats of each color.
Drop the fifth stitch, and tear all the way down to the bottom.

Cast off. I cast off one extra stitch right where the dropped stitch was, to add extra stretch there.
Sew up the side, and bottoms. Make pom poms or tassels and attach.
Richmond Gloves
These neat gloves where featured in Piecework Magazine. The pattern was developed by an Englishwoman in the 1860’s, but no exact date is given. You can purchase the pattern here for $6.50.

Godey’s Opera Hood 1862

What Materials I used
Sport Weight Yarn in two colors
Size 5 Knitting Needles
Tie
Pattern
Cast on 90 stitches.
Do 5 rows of stockinette stitch in one color. Reverse the stockinette stitch and do five rows in the alternate color.
I changed on thing. I followed the picture instead of the instructions. The pattern calls for 9 rows of one color and eight of the other. While, the picture shows 10
rows of one, and 9 of the other. I followed the picture, and I like it!
Cast off.
It is a pretty stretchy thing, but blocking it may make the colors stand out more. I didn’t block mine, but might do that. To tie, I opted for a functional wool cord made from a lucet loom.
Happy Knitting,
Jamie

Like our patterns? Clicking on an advertisement helps us pay for our blog!
Visit our historical closet to see dresses, kids clothing, knitwear, and our other patterns!

